Quickstart guide for setting up a headless WordPress site with a React front end and a Rasa chatbot
This is a basic how-to for setting up a web application with a React front end that pulls content stored in a (headless) WordPress instance and has a basic chatbot, all in a single site. It’s a template for getting all the components installed and working together. This forms the foundation for a very powerful and flexible web application.
Tools Used:
- Backend: WordPress for content management
- Frontend: React/Next.js React web framework
- Chatbot: Rasa conversational AI
WordPress
WordPress is a robust content management system. The simplest way to get it running is with Docker, this will containerize your WordPress project and handle all the dependencies and downloads needed.
# Update package list
sudo apt update && sudo apt upgrade -y

# Install Docker
sudo apt install docker.io -y

# Enable and start Docker service
sudo systemctl enable docker
sudo systemctl start docker

# Verify Docker installation
docker --version

# Install Docker Compose
sudo apt install docker-compose -y

# Verify Docker Compose installation
docker-compose --version
Once Docker is installed you can use this sample docker-compose.yml file, add it to a new headless-wordpress/ directory and use it to start up the WordPress instance.
# Create project directory
mkdir headless-wordpress
cd headless-wordpress

# Add the docker-compose file (sample linked above) and then start docker
docker-compose up -d
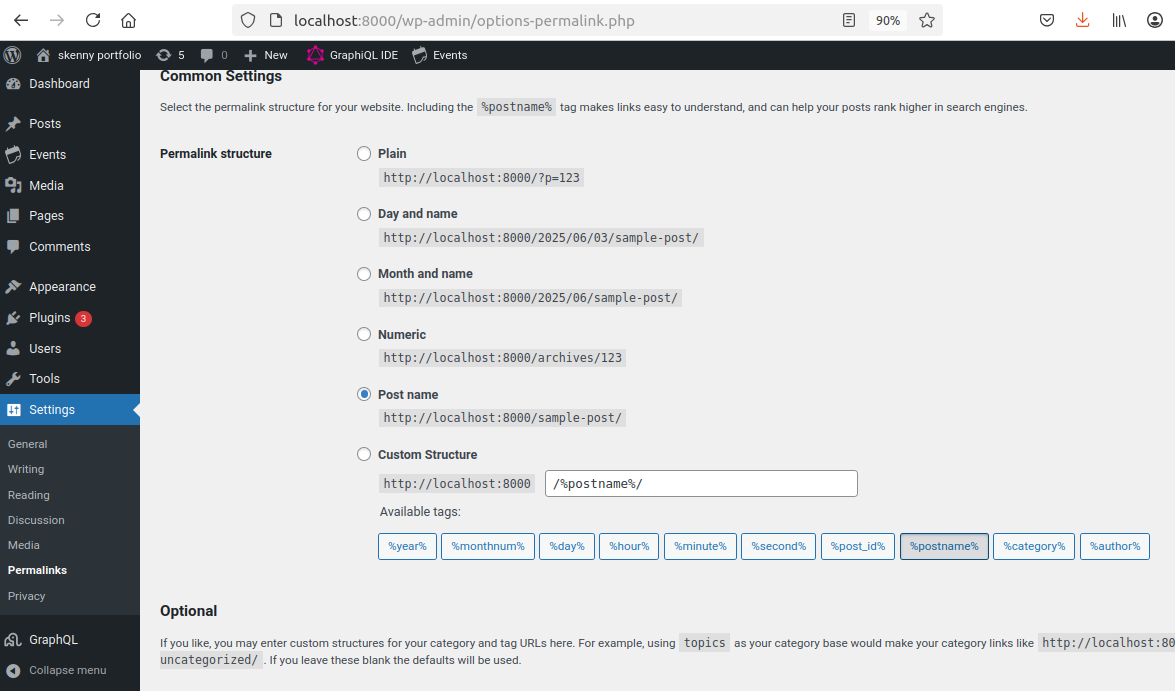
Once the WordPress instance is running you can navigate to the admin page (http://localhost:8000/wp-admin if running locally).
Then go to settings->permalinks set to ‘Post name’ and save
Install and activate the WPGraphQL plugin which is needed to expose the GraphQL API for WordPress. This is the component that allows React to communicate with the WordPress so the content can be extracted and rendered to the front end.
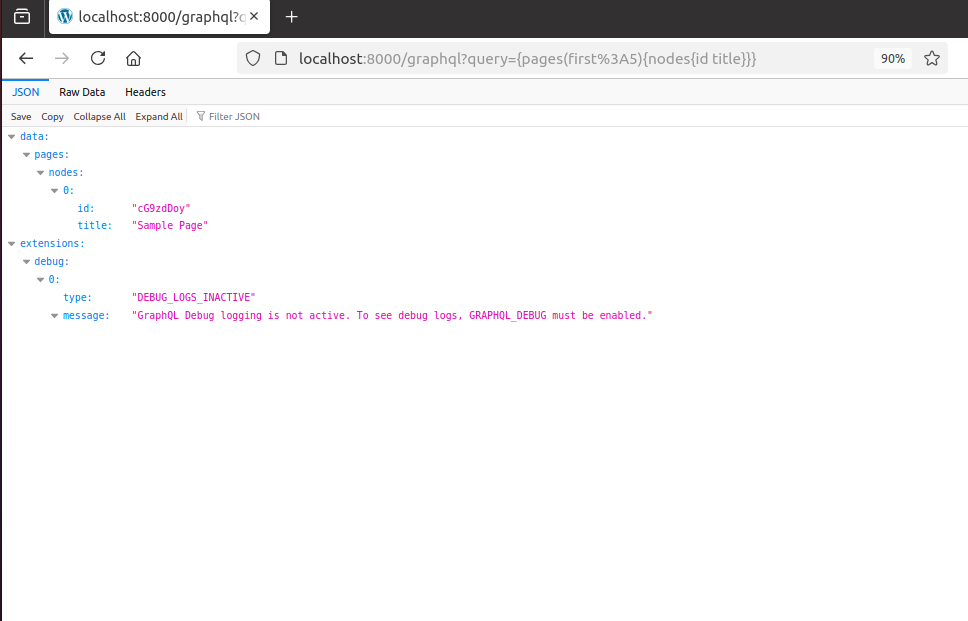
You can test the WPGraphQL plugin API with the following url:
http://localhost:8000/graphql?query=%7Bpages(first%3A5)%7Bnodes%7Bid%20title%7D%7D%7D
This should display a JSON object listing the pages in your WordPress site, something like this:
Now that WordPress and the necessary plugin are working, the backend is complete. The next step is setting up a front end that will pull content from WordPress and render it to the web page.
React/Next.js
Generally speaking, the idea is to populate the site with data from WordPress which will then be rendered/formatted with React. Ensure you have Node.js and npm installed, then create a new Next.js app
npx create-next-app@latest react-frontend
cd react-frontend
# make a components directory which we'll use later for the chatbot
mkdir src/components
Now we’re ready to set up and run the front-end server. First, you should replace the default react-frontend/package.json with this one package.json which has the additional packages needed for Rasa and WordPress. This will ensure the proper packages are added when you run the installation and then fire up the server:
npm install
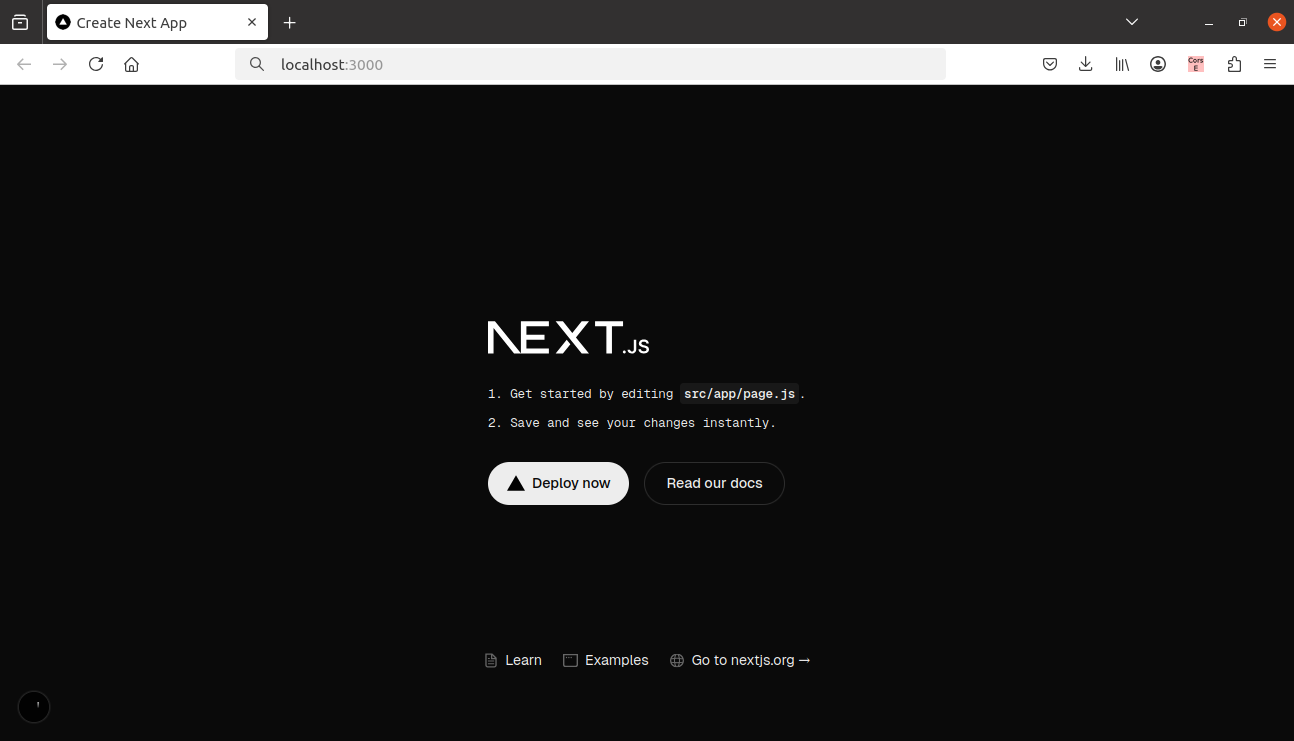
npm run dev
Once your server is running so you can navigate to http://localhost:3000 and you’ll see the default Next.js page
Now that the we have a working Next application it’s necessary to edit the react-frontend/src/app/page.js in the application (as is mentioned on default home page) so that it’s pulling some content from WordPress. Here is a simple page.js file that pulls from the WordPress and renders the content, you can use it to replace react-frontend/src/app/page.js:
"use client";

import { useEffect, useState } from "react";
import axios from "axios";

export default function Home() {
  const [pages, setPages] = useState([]);

  useEffect(() => {
    axios
      .get("http://localhost:8000/wp-json/wp/v2/posts")
      .then((res) => setPages(res.data))
      .catch((err) => console.error("Error fetching pages:", err));
  }, []);

  return (
    <div style=>
      <div style=>
        {pages.length ? (
          pages.map(({ id, title }) => (
            <div
              key={id}
              style=
            >
              <h2>{title.rendered}</h2>
              <div />
            </div>
          ))
        ) : (
          <p style=>
            Loading WordPress content...
          </p>
        )}
      </div>
    </div>
  );
}
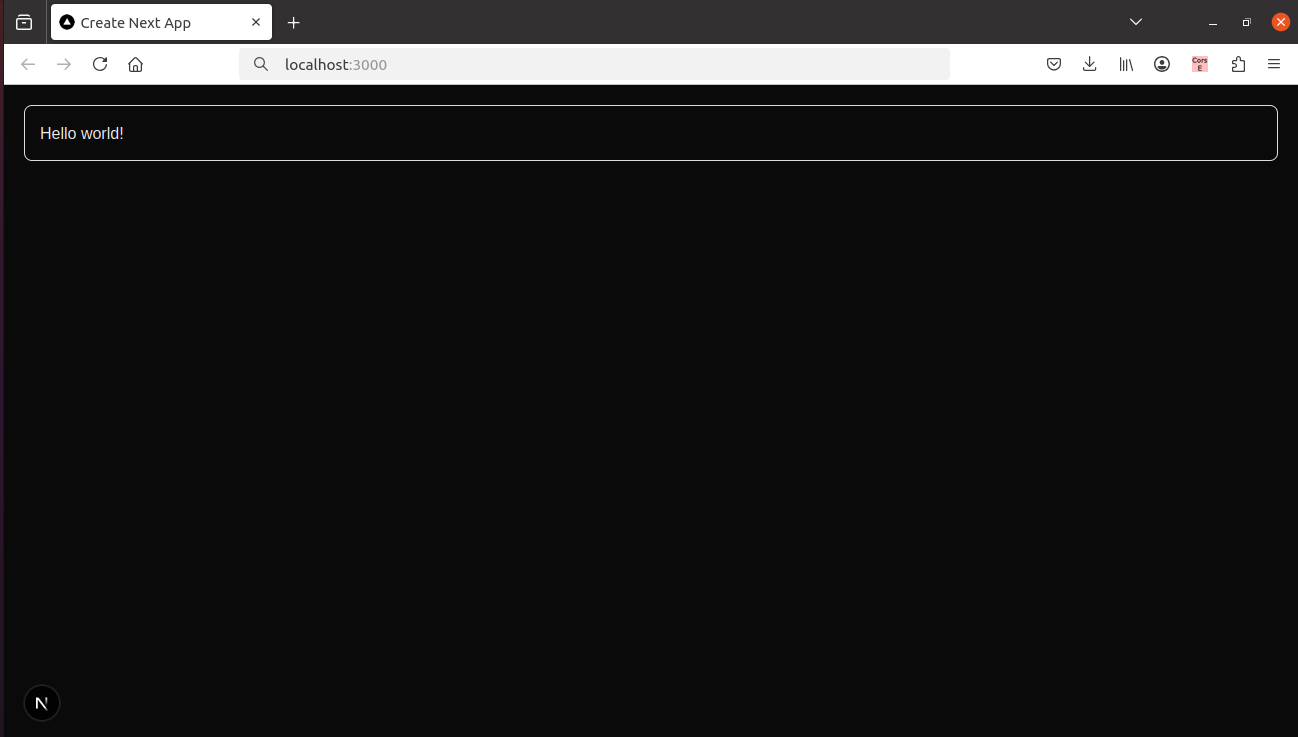
Now when you navigate to http://localhost:3000 the Next application will render the ‘Hello World’ post that comes with the default WordPress installation. Any other posts that you add to your WordPress will also get rendered.
Rasa
Install a virtual environment for the rasa bot (this setup will use the default bot that comes with the rasa installation)
python -m venv rasa-venv
source rasa-venv/bin/activate
pip install --upgrade pip setuptools wheel
pip install rasa
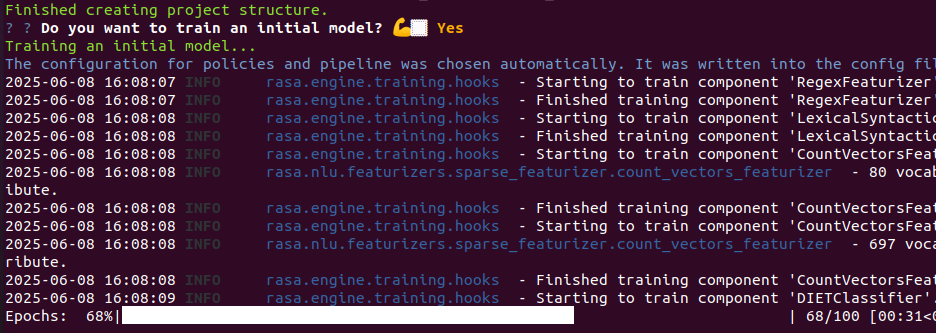
rasa init
when you initialize Rasa it will ask if you’d like to train an initial model, you should hit enter to train the model (this is Rasa’s default model that we’ll be using and connecting to our website). Rasa will then take a few minutes to train your model.
This gets everything set up to start/restart, then you can test the new bot in a shell:
# interactive terminal
rasa shell

Once you’ve verified the bot works by testing it in the shell, you can then expose it for web (so the React app/website can display it)
rasa run --enable-api --cors "*" --debug
Now we need a way to display the bot on our Next application. This requires 2 steps:
- Add the ChatWidget.js file to your
react-frontend/src/components - Add the new chatbot to your
src/app/page.jslike so:
import ChatWidget from "@/components/ChatWidget";
...
    {/* Chat Widget */}
     <div className="chat-widget">
       <ChatWidget />
     </div>
You can find a fully updated page.js with the chatbot added here.
Now WordPress, React & Rasa are all running and connected! It should look something like this:
(Optional) Shut Down/Cleanup
Shutting down the WordPress instance (and removing all containers). This allows a clean restart:
sudo docker stop $(sudo docker ps -q)
sudo docker rm $(sudo docker ps -a -q)
for more information: Next.js/React, Rasa, WordPress